How to Make Wood Candle Holder?
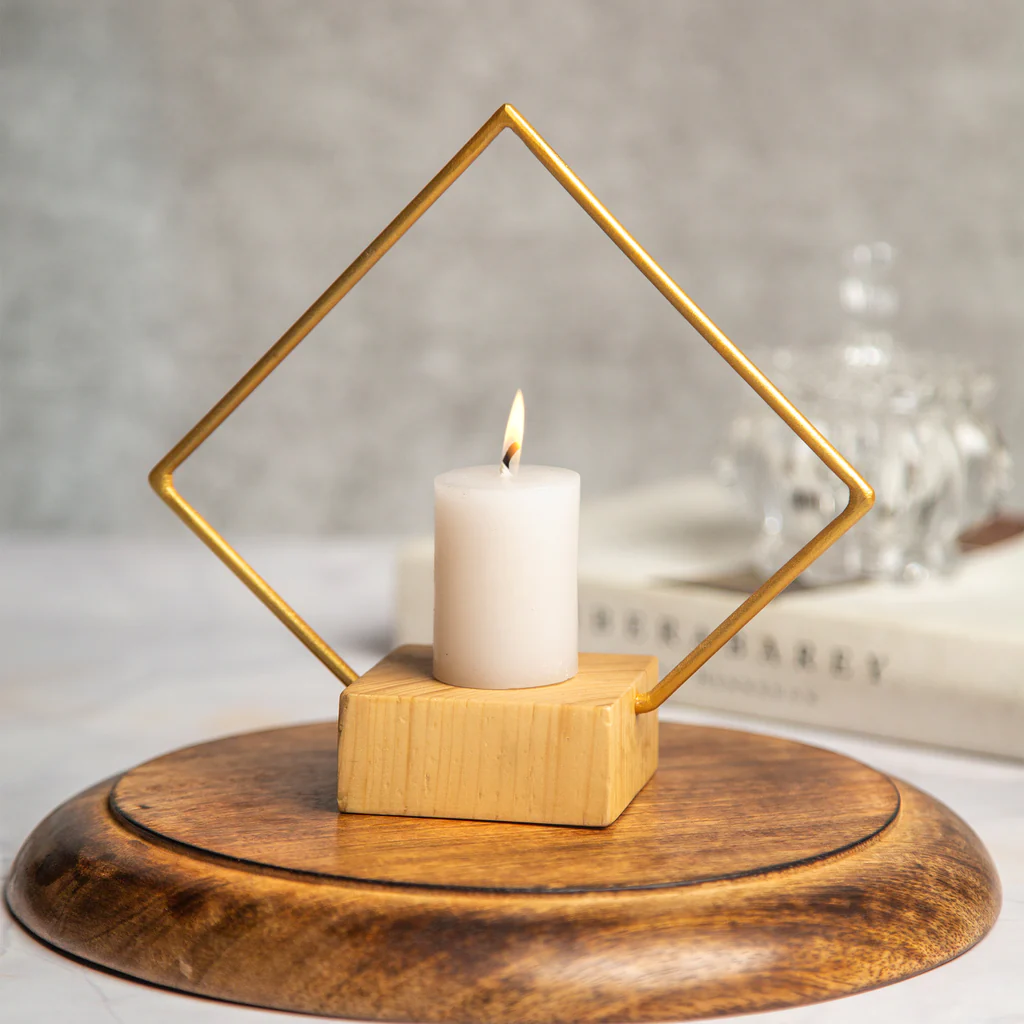
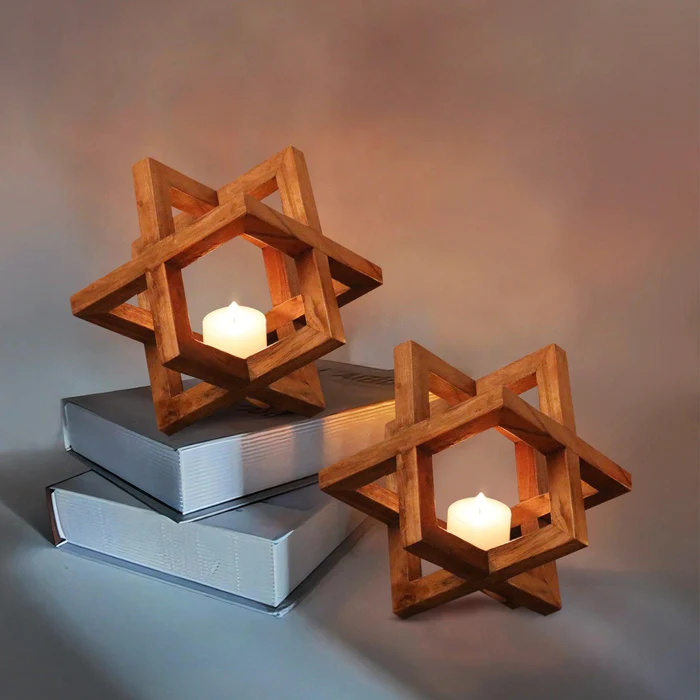
Wooden candle holders, with their simplicity and stylish charm, add a delightful touch to any space they adorn. For enthusiasts of both wooden decor and woodworking, creating your own wooden candle holders can be a rewarding and fulfilling craft project. Immerse yourself in the art of crafting these elegant pieces that exude warmth and craftsmanship. To embark on this simple yet creative endeavor, begin by selecting the type of wood that resonates with your aesthetic preferences and complements the ambiance of your living space. Whether it's the rustic appeal of reclaimed wood or the smooth finish of hardwood, the choice is yours. Once you've chosen your wood, gather the necessary tools—perhaps a saw, sandpaper, and wood glue—and start measuring and cutting the wood pieces to your desired dimensions. Experiment with shapes and sizes to create a dynamic set of candle holders that can be arranged in clusters or displayed individually. Sand the edges to achieve a smooth finish and bring out the natural beauty of the wood. The assembly process is where your creativity can truly shine. Consider incorporating intricate patterns, geometric designs, or even personalized engravings to make each candle holder a unique work of art. Secure the pieces together with wood glue, allowing for precision and stability. Once the glue has dried, give your creation a final sanding to refine the surfaces. To enhance the aesthetic further, you can apply a wood finish or stain that complements your chosen wood type, adding depth and richness to the candle holders. Finally, insert your favorite candles into the holders and watch as the warm glow illuminates the craftsmanship of your handmade creations.